background

Showing posts with label Recycling. Show all posts

Sunday, March 8, 2020

Weekend goal...

In yesterday's 7 Random Thoughts on the 7th post, I stated that my goal for this weekend was to get rid of all the cardboard boxes that have accumulated.  First thing I did was gather ALL of them from their hiding places around the house into one place.  Shame on me for letting it get this out of hand! 
Okay, as you can see, I do a lot of online shopping.  In my defense, these are probably from the past year...of course it's not much of a defense that I've let them pile up instead of disposing of them immediately...but it's a lot of work.

'
What takes the longest is redacting private information (call me paranoid, it's a compulsion)...


...and letting the air out of packing materials so they take up as little space as possible...

...and tending injuries.  Man, I hate cardboard-caused paper cuts.

Ta-Da!  I kept two boxes to use for putting donations in.  Donations will be taken to Goodwill, and all of this cardboard will be dropped off at recycling this week!

Whew!  Patting myself on the back for completing this goal.

Monday, August 14, 2017

Making it Monday...

I feel like I've gone on ad nauseam, (and here ) about my need for a to-do list, my need for simplicity, and yet still yearning for pretty.  All the pretty ones I look at had too much stuff that I wouldn't use and would only clutter up my brain.

I like a spiral to keep a pen or pencil tucked in the spiral.  My original true love is a steno pad, but the part I don't like is rewriting the staples of my week over again on every page. 

I was inspired by this weekly layout by Kate Louise.  Hmmm, I wonder if 'Kate' is short for Kathleen, because Louise is my middle name too.  :)  

 So I started playing around with my publisher program.  I didn't arrange mine by days of the week, as I tend to prioritize things on the fly, and I don't like assigning things to specific days.  I kept a place for my monthly goal and my 3 major weekly goals for the things that I have to remind myself to keep working on or toward.  I arranged the constant repeats in a way that made sense to me...daily tracking my swiffering (my only real New Year's resolution this year), loading and unloading the dishwasher, decluttering with 27 Fling Boogies (รก la Flylady), keeping up with laundry loads, and even my 52 Letters in 52 Weeks.  Oh, and the colorful banners really satisfy the pretty factor for me.

I was able to fit all of this on a 8 1/2" x 5 1/2" space, which means I could fit two per sheet of printer paper.  I printed them out, and cut them apart.  Then I stacked them up and I rummaged through my craft room and found some chip board that came as part of shipments of something or other.  I cut two pieces of chipboard (a handy bit of recycling, this) the same size as my list sheets, and I took them to Office Max to have them spiral bound.

 The chipboard gives it a nice firm writing base.

And now I have the best of both worlds...my world and the world of pretty planners.  :)  I've already started this week's list.  It is exactly what I need, because it was made just for me, and it has all the recurring chores preprinted.  It has enough pages to last over a year.  And it's pretty!

And other than my printer ink and printer paper which I had on hand, it cost exactly $3.24 for Office Max to add the spiral binding.

I can live with that.  :)

Wednesday, July 29, 2015

Foaming hand soap refills...

The most oft used hand soap dispensers around the house were all empty or near empty.  Time to refill them.

First thing I do is boil a pan of water and let it cool.  Gather up all the dispensers from around the house.  Rinse them out well.  I added a little bit of the cooled boiled water, shook well and poured out...probably don't need to do that step, but I did.

While rinsing, and with containers in sink, fill with water, and add the pump back in and screw on.  The pump displaces more water than you might think.  Remove pump, and mark the level of the water, so that you will know where the maximum fill line is.  (The Dial dispensers in the front row of photo below already have the fill line marked.)

Then fill each of the clean dispensing bottles about 2/3 to 3/4 full of cooled, boiled water, then add liquid soap of your choice to the fill line.  (I've read that boiling the water, or using distilled, is important to keep contents from getting icky over time.)


The two left ones in the front row are cloudy.  They are ones that I used Dr. Bronner's Pure Castile Liquid Soap to make.  Not sure why it makes a cloudy mix.  I would probably opt for another, clearer option, but Carey, who is not a fan of foaming soaps in general, likes the Dr. Bronner's hand feel better than others.  The one on the far right is clear, and I used a bottle of regular non-foaming hand soap to make that.  (I bought the non-foaming for its cute container, and I will try to convert its lid to a foaming dispenser when it is empty.)

This photo shows my dishwashing liquid on the left, and the newly filled foaming hand pump on the right.  I used the dishwashing liquid to make the foaming refill for this one.  The other day as I was pouring dishwashing liquid into my hand to help cut the cooking oil that was on them, it occurred to me that I should just use dishwashing liquid to make the refill for the kitchen's hand pump. 

So there's a little chore to mark off the list.  I figure I probably saved about $10 by not buying new pump dispensers, and I didn't have to leave the house.  Win/win.
Photobucket

Friday, May 16, 2014

Relocated and re-appreciated...

This is my laundry room.  I love the size.  I love that it has a sink.  And that's about all.  

What aggravates me is that this is the first impression everyone has of my house, because no one EVER uses the front door.  When anyone comes in, on the left they walk first past the water heater (not in photo)...then the water softener (also not in photo)...then the small chest freezer...not to mention the washer and dryer on the right.  It's an appliance alley.

I also have an antique hall tree parked in here, because there isn't really an appropriate spot for it elsewhere in the house, and my husband thinks he should actually get to use it...imagine!  I think it was my gift to him on our tenth anniversary.  It looks completely out of place in here, and so that aggravates me too.

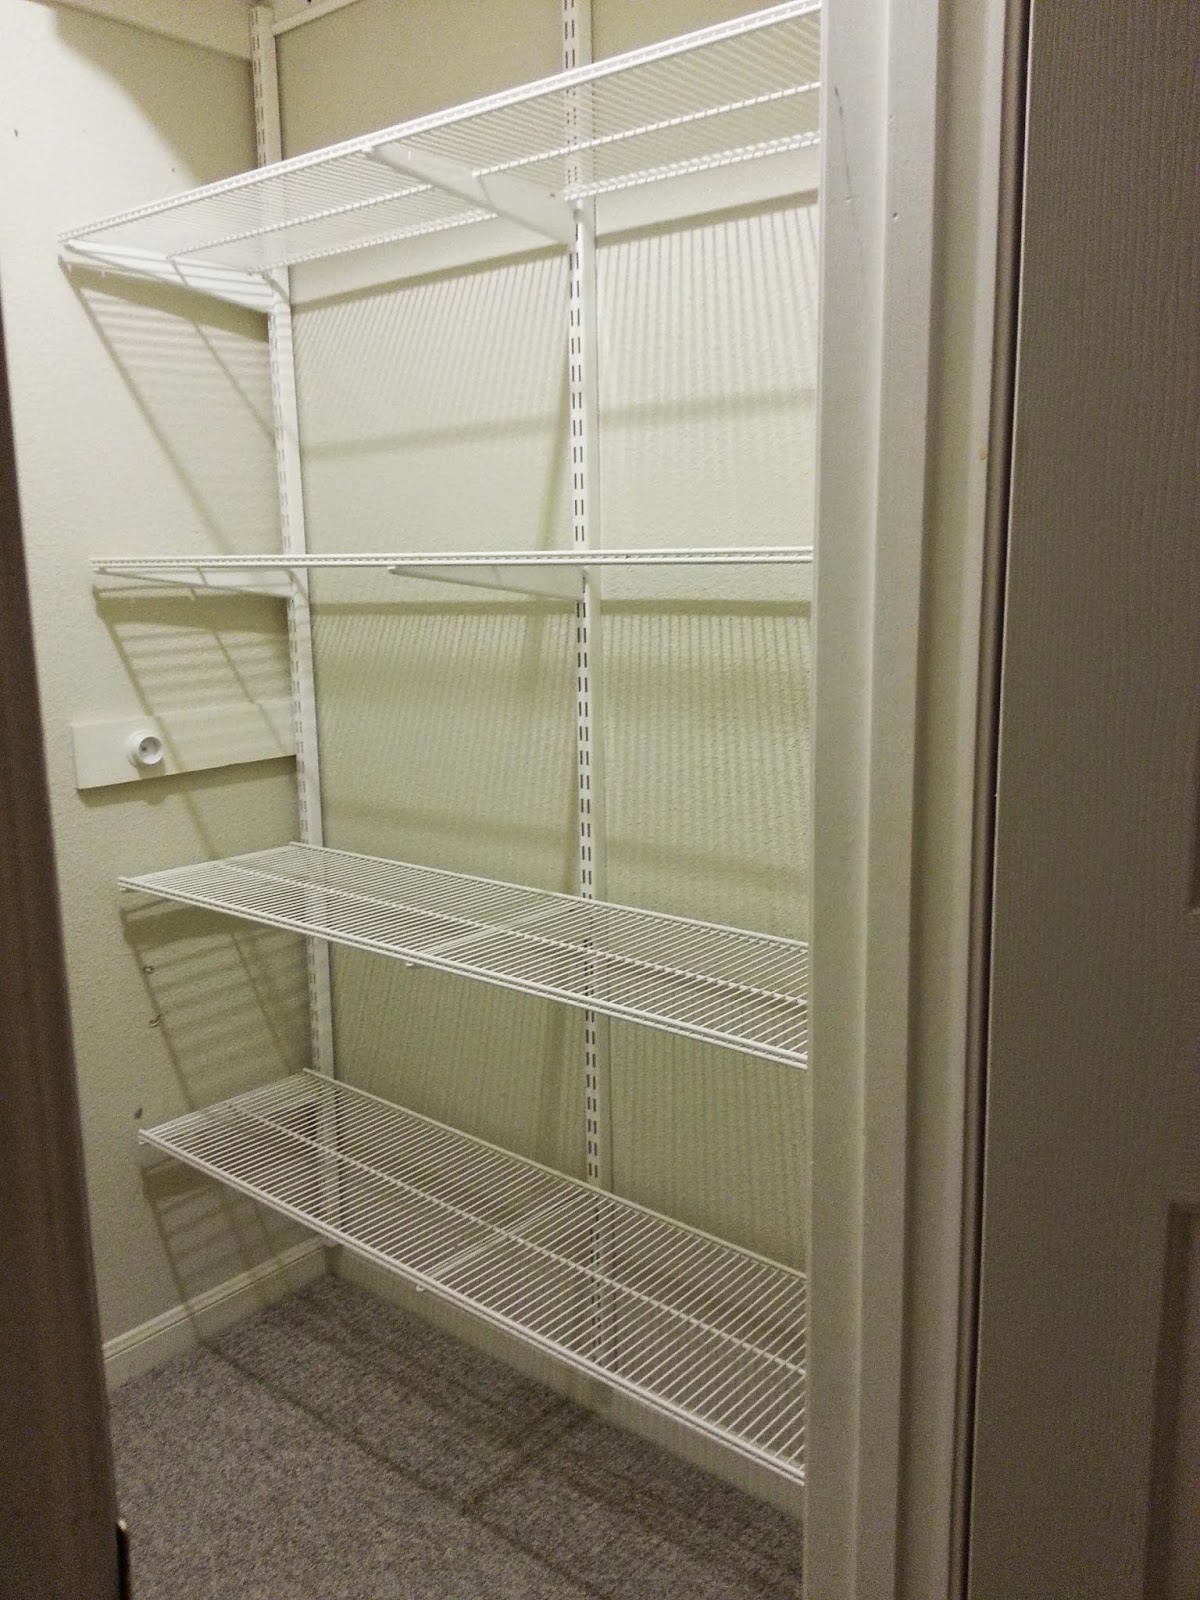
The laundry room looks a little better than usual  tonight though.  Why?  Because this morning there were shelves there that made it look even messier.  They were there when we moved in, and they were nice and sturdy, but...

This is where the shelves were this morning when, on my way out the door as I left for work, I mentioned in passing to my husband that I would really like him to move them to the guest room closet sometime.  No hurry. 

I wonder if I was out of the driveway before he had the tools out?  Sometime I really need to do a blog post about the theory that opposites attract, because that man is a do-it-now dude, and I am a procrastinating Pearl.

When I got home tonight, I walked right through the laundry room without even missing them.  He had to tell me that they were already installed in the closet...see?  Awesome, huh?

I am tickled pink to have a space that is less public to use for organized storage.  The closet already had the tall built-in shelves in the center and up high on each side.


And it still has plenty of room to hang out-of-season or guests' clothing.

So one last look at the laundry room:
I'm thinking it needs a makeover in the near future.  Maybe I should mention THAT to my husband.

Stay tuned.
Photobucket

Friday, May 9, 2014

Friday five...

I am getting ready to participate in a garage sale...not this weekend, but the next one...with Kasey and another neighbor.  I'm finding many multiples of things to get rid of, so I figured my Friday Five would be groupings again this week.

1.  One filthy chair and ottoman.  The chair back has a HUGE cut.  I bought it that way...it was way cheap on Craigslist.  I think I've had it for at least five years, and its back has always been to the wall or been covered with a quilt.  I think the time has come for it to go.

2. Two free-standing toilet paper holders.  The last house we lived in did not have built-in tp holders, so we used these.  We now have built-ins.  Why do I still have these? 

3.  About three dozen thick fluffy wash cloths.  These are extremely good quality.  But after buying a ton of them, I found I really hate the thickness of them.  When my fingernails get wet, they become really weak, and the weight of these cloths when they are wet are enough to tear/break my nails so these just sit in the linen closet taking up space.

4.  About four boxes of rubber stamps.  Pictured below is just one of the boxes.  They have already been through a previous garage sale, and got taken back in the house when they didn't go to other homes with their buddies.  They gotta go.

5.  Five drapery panels never been out of their packages.

And that is just a start.
Photobucket

Thursday, November 29, 2012

The Bat Mobile revisited...

October brought us the Bat Mobile...
 
 
And with November came the autumn leaves...
 
 
And now as we head into the holidays, I present...
the Snow Mobile!
 
 
Way to recycle a cheap craft project, huh?  But this is its last incarnation.  We are growing a bit tired of it.  Or rather, Carey is growing a bit tired of moving all the furniture and setting up the ladder to change it for me.  :)    He's such a good sport to have hung in there with me this long! 
Photobucket
 

Friday, March 2, 2012

Creative recycling...

Call me crazy (okay, that's enough, you can stop now), but I get a lot of satisfaction from the most mundane kinds of creativity.

Enter my trusty paper trimmer and corner rounder punch...


Lately whenever I empty a box of cereal, or crackers, or chocolate covered cherries (Valentine's Day candy), I flatten the box, and then cut it into 7 inch by 1.5 inch pieces.  I love the packaging graphics, so I try to get as many pretty pieces as I can out of the box.  Then I round the corners.


They make great bookmarks...a nice weight...not too bulky...and I never have to worry if I lose one.  This week I sent a bunch to a friend who is an avid recycler and reader.  I thought they would make her happy too.
Photobucket

Saturday, June 18, 2011

Saturday's snail mail...


card front

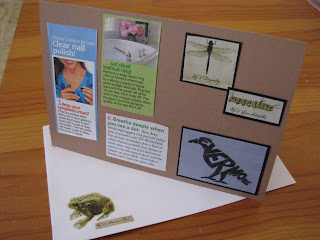
I like trivia; and I like to pass it on.  This is one of my magazine trivia cards.  I'm not really a magazine buyer except for my one subscription to Real Simple.  But twice a year or so one will call my name at the grocery checkout.  Usually they are the kinds that deliver tips or facts as stand-alone tidbits sprinkled throughout.  If I'm in a card-making mood when I'm ready to toss it in the recycle bin, then I cut out the good bits.

The card above is for my friend who is a science teacher.  I knew I wanted to make one of these cards for her when I found a beautiful magazine page of animal and insect drawings with their names in old script underneath their pictures...I layered them on cardstock and put some of them on the front of the card, some on the inside and back, and one on the envelope.


card inside

The inside isn't really pretty.  It includes some inside joke/teasing, some factoids, and a silly riddle.


card back

This is kind of a reader's digest of trivia.  Just to share for the fun of sending/receiving snail mail.

I also sent a store-bought birthday card this week (with a hand-written letter tucked inside).  The recipient texted me this morning to let me know it arrived on time.  That's probably the first time in about twenty years I've gotten hers to her on schedule.

accountability stats:  7 weeks / 14 cards

Thursday, June 2, 2011

Channelling my inner Red Green...


I came across this tissue box under an end table while moving stuff around in the living room a little while ago.  It's been lingering around since Christmas...hence the decor.  We can't have holiday tissue out for guests this weekend...but they might need a tissue...oh, what to do, what to do?

Ever heard of Red Green ?

As Red says, "Spare the duct tape; spoil the job."

Okay, I know it's tacky.  But it's funny.  And I needed to take a break to amuse myself.  Hey, at least I had a roll of white and not just the classic gray!  :)

Sunday, October 18, 2009

Plastic bag organizer...

Yesterday's post was about the 'green' bags that are popular now. And I do love them. But I always forget to take them to the grocery store with me, so I end up with a bunch of the oh-so-un-green plastic bags. We recycle by using them for the small trash cans in the house. We have one drawer in the kitchen that we toss them into.

This is what it looks like...


...it drives me crazy.

I have seen the different organizers to corral the bags, but most of them need to hang, and I don't have any cupboard doors that one would fit inside, and I don't want one hanging where I have to look at it.

So I got to thinking about what I might have on hand to make something to organize them in the drawer they were already in.

Requirements: it had to be sturdy and easy to work with.

I settled on a sheet of plastic canvas (7 mesh...10.5 inches by 13.5 inches is what I had on hand). I rolled it lengthwise (so long edge meets long edge) and let the edges overlap a few rows.


I used some scrap yarn and stitched the edge on top to the row underneath it. Then because I wanted to finish watching a tv program, I stitched the other edge (which was inside by a few rows) to the row on top of it. This really wasn't necessary, but I like the way it looks.

The diameter is large enough for my hand to reach into if necessary, and small enough to not impede the opening or closing of the drawer. Both ends are left open to reach the bags inside. It holds a bunch (all that were in the 'before' photo are now in it, and it's not full). When it's full to overflowing, we will quit saving the bags for awhile.

You could really go nuts and stitch the whole thing decoratively...but I wanted it purely for practical use...to stay clean and be able to see bags inside...so I left it very plain.


Ahhhh...I feel better now.

Wednesday, June 10, 2009

Magnetic bookmark...


I really wanted to post tonight, but didn't have anything I really wanted to write about. So I surfed instead. And I ran across this great little idea. So at 10:30 pm, I jumped up, grabbed a magnetic advertisement off of my refrigerator, and ran around the house collecting the rest of the supplies to make one. I finished making it at 10:47 pm! That's seventeen minutes start to finish...including the gathering of materials! Doesn't get much better than that to me. It was so cute and so easy, I HAD to write about it.

Thanks go to Amy at Craft Chi for the great tutorial. Check it out.

I also ran across an awesome idea for a 'party' idea on another blog, and this would be a great party favor for it. I'll write about it a little later.
Related Posts with Thumbnails